Objective: By the end of this lecture, the student will be able to import circuits and plots from PSpice into MS Word
Sec. 9.1 A word about the programs
ĀĀĀĀĀĀĀĀĀĀĀ This lecture is strictly for students who want to dress up reports.Ā This includes adding pictures of the circuits and the plots from PSpice and incorporating it into Word.Ā The reason I use MS Word is that it is the program most people have.Ā Also it’s the program that I use so I am the most comfortable using.
ĀĀĀĀĀĀĀĀĀĀĀ In addition to MS Word, I also use other programs to enhance the images from PSpice.Ā The programs I used are:
- Adobe PhotoShop 5.5
- Micrographx Image 1.0
- Micrographx Picture Publisher 8.0
- Adobe Illustrator 8.0
- Macromedia Freehand 9.0
Although it is not necessary to use these programs to import pictures into word, it is recommended that the students get familiar with them.
ĀĀĀĀĀĀĀĀĀĀĀ Adobe PhotoShop, Image and Picture Publisher are raster graphic programs.Ā This means these programs handle all the image types as pixels.Ā This basically means these programs are generally used to enhance an image.Ā The limitation of these programs is that when resizing an image, there is a lost of details.Ā The other disadvantage to these programs is the price tag.Ā PhotoShop cost around $400 and Image cost about $200.Ā
ĀĀĀĀĀĀĀĀĀĀĀ Adobe Illustrator and Freehand are vector graphic programs.Ā This means the programs represent images with mathematical equations, thus when the image is resize there is no lost of details.
ĀĀĀĀĀĀĀĀĀĀĀ I generally use PhotoShop and Image if I’m in a rush to create images to be used in Word.Ā If I have more time, I would use Illustrator or Freehand to create the images.
ĀĀĀĀĀĀĀĀĀĀĀ A final note on the programs; PhotoShop is the industry standard for image manipulation.Ā Illustrator and Freehand are both highly regarded in the industry.Ā So it is a good bet that if you ever need to create some pictures for your report or presentation at work you would most likely encounter these programs.
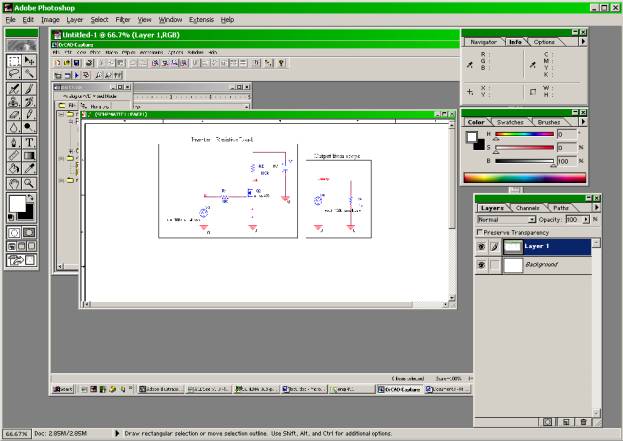
Sec. 9.2 Importing pictures into PhotoShop
- Create a circuit in Orcad Capture
- Press Print Scrn button on the keyboard to put a image of the desktop into the clipboard
- Open Adobe PhotoShop
- In PhotoShop click on File/New
- Accept the suggested image size by clicking OK
- Click on Edit/Paste
- A new window will open with the image of the desktop, refer to fig. 9-1 for the screen shot
- Select the rectangular marquee tool
- Create a selection for the figure
- Click on Image/Crop
- If there is two layers, click on Layer/Merge Down
- Click on File/Save As
- Select TIFF as the output file options.
- Go to MS Word
- Create a 2 by 2 table (I have found using a table would allow easy formatting)
- Click on Insert/Picture/From File
- Locate the file and click OK
This is the step I would used in Adobe PhotoShop.Ā If this way seems cumbersome, instead of pressing Print Scrn on the keyboard, you could just select the portion of the circuit in Orcad and copy it into the clipboard.Ā Then using the same procedure, create the image.
|
|
|
Fig. 9-1 – PhotoShop screen capture |
ĀĀĀĀĀĀĀĀĀĀĀ Another way of importing the circuit to Word from Capture is to just highlight the circuit the copy it to the clipboard.Ā Go to Word and paste it from the clipboard.
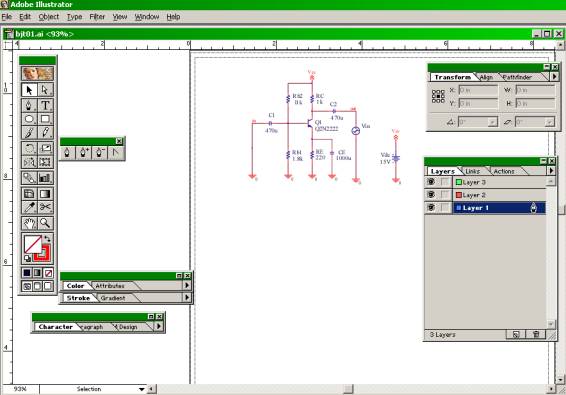
Sec. 9.3 Importing data into Illustrator
- Create the circuit in Orcad Capture
- Select only the portion of the circuit that is needed
- Click on Edit/Copy
- Open up Illustrator
- In Illustrator, click on Edit/Paste, refer to fig. 9-2 for a the screen shot
- Resize the image to the size you want
It’s a good idea to turn on the ruler so you can see how big the image would be - Click on File/Export
- Select TIFF as the output file type
- Select High as the output resolution with anit-alias and LZW Compression uncheck
- Follow the same procedure as in sec. 9.2 to place the picture in Word.
It would seem redundant to use Illustrator when Photoshop does the same thing.Ā But the one advantage to using Illustrator is that you can resize the picture it would still look good, while the picture would look very bad if resize using Photoshop
|
|
|
Fig. 9-2 – Adobe Illustrator screen shot7 |
ĀĀĀĀĀĀĀĀĀĀĀ
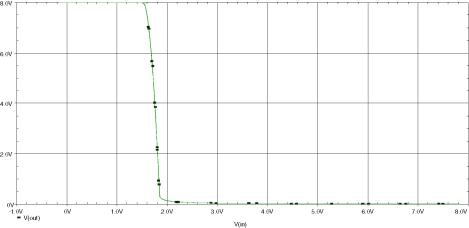
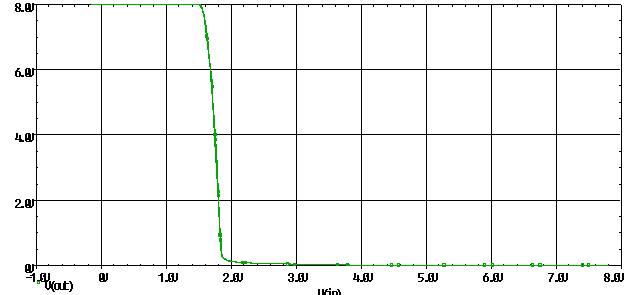
Sec. 9.4 – Getting the plot from the Probe window.
- Create a circuit in Orcad Capture
- Simulate the circuit
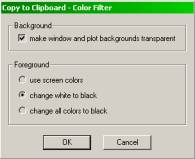
- In the Probe window, click on Window/Copy to Clipboard
- Select the options as seen in fig. 9.3
- Place the image in MS Word by clicking Edit/Paste
|
|
| Fig. 9-3 – Copy to clipboard dialog box |
Sec.9.5 Comparing the output results
ĀĀĀĀĀĀĀĀĀĀĀ There is a lot of way to generate the pictures to use in Words, the appendix for this lecture shows the different output using different methods.
Tips for importing pictures
ĀĀĀĀĀĀĀĀĀĀĀ I will always use Illustrator as oppose to PhotoShop if I have a chance.Ā The output always look better.Ā If you must use a raster base graphic program, follow these little tips
- When pasting, choose a dpi of at least 120 – 150.Ā This range of values provides the best printing results.Ā All the images made in this workshop are 150 dpi
- Always save the image in TIFF format.Ā TIFF save the image in a lossless compression scheme.Ā This means the image will be preserve in the exact way as shown on the screen.
- Avoid using GIF format.Ā The GIF format will create a smaller file, but it is limited to 256 color
- Avoid using JPEG.Ā JPEG is a lossy compression scheme.Ā A lot of information is lost in saving the file but the file size will be smaller.
- If the computer is slow, avoid using the Print Scrn option.Ā This takes up a lot of memory and processing power.
For a vector base graphic programs, follow these tips
- In Windows 2000, do not paste anything from Orcad Capture to Illustrator, it will crash the program.Ā Windows 98 does this perfectly.
- When pasting into the programs, the objects are group together, so it would be necessary to ungroup the objects.
- Avoid inserting the vector file into Word, the image quality is never that good
- When exporting, use at least 300 dpi.Ā If possible, use 600 dpi.
PhotoShop Output
ĀĀĀĀĀĀĀĀĀĀĀ Photoshop allows the pasting of the images in different dpi.Ā Below are the images pasted in PhotoShop and place in Word using different dpi.Ā All the pictures were saved in the TIFF format.
|
|
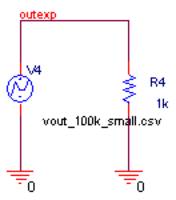
| Output at 72 dpi |
|
|
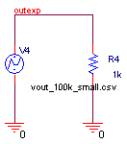
| Output at 100 dpi |
|
|
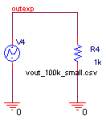
| Output at 120 dpi |
|
|
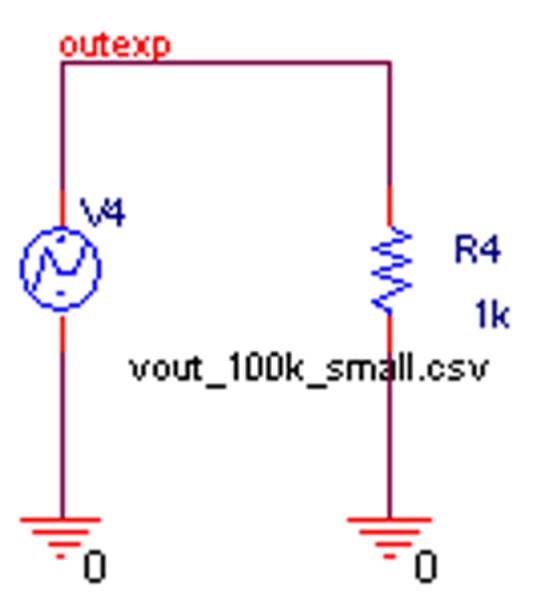
| Output at 150 dpi |

|
|
|
Output resized |
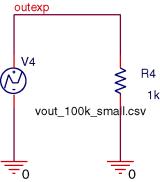
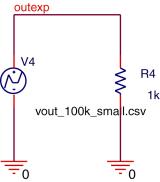
Output from Probe
|
|
|
Pasting directly into Word |
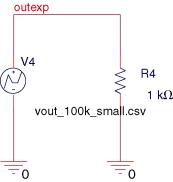
Illustrator output
ĀĀĀĀĀĀĀĀĀĀĀ The outputs from Illustrator offer more options.Ā These options give more control when creating the images.Ā Also note that when the image is resize, there is no degradation of the image.
|
|
| Output at 300 dpi with anti-alias turn off |
|
|
| Output at 300 dpi with anti-alias turn on |
|
|
| Output with some additional changes |
|
|
| Output with image resized |
|
|
|
Output from Probe |